
Commands
Learn how to install and configure IPA/IdM on RHEL 9 and CentOS 9. This comprehensive guide covers prerequisites, step-by-step installation, user management, and enabling 2FA


Learn how to install Zabbix with PostgreSQL on RHEL 9 | CentOS 9 with our comprehensive step-by-step guide. Follow clear instructions with CLI examples and configuration tips to set up a powerful monitoring solution.
Zabbix is one of the most popular open-source monitoring tools available, providing comprehensive real-time monitoring of systems, networks, and applications. When coupled with a PostgreSQL database, Zabbix becomes a powerful solution that can handle large-scale monitoring with excellent performance. In this guide, we’ll walk through the installation of Zabbix with PostgreSQL as the backend on RHEL 9 and CentOS 9.
Before we begin, ensure you have the following in place:
| Requirement | Description |
|---|---|
| Operating System | A server running RHEL 9 or CentOS 9 |
| Privileges | Root or sudo privileges |
| Network | A stable internet connection (IPv4 address and Hostname for this demonstration: 192.168.1.212, zabbix.dev.naijalabs.net) |
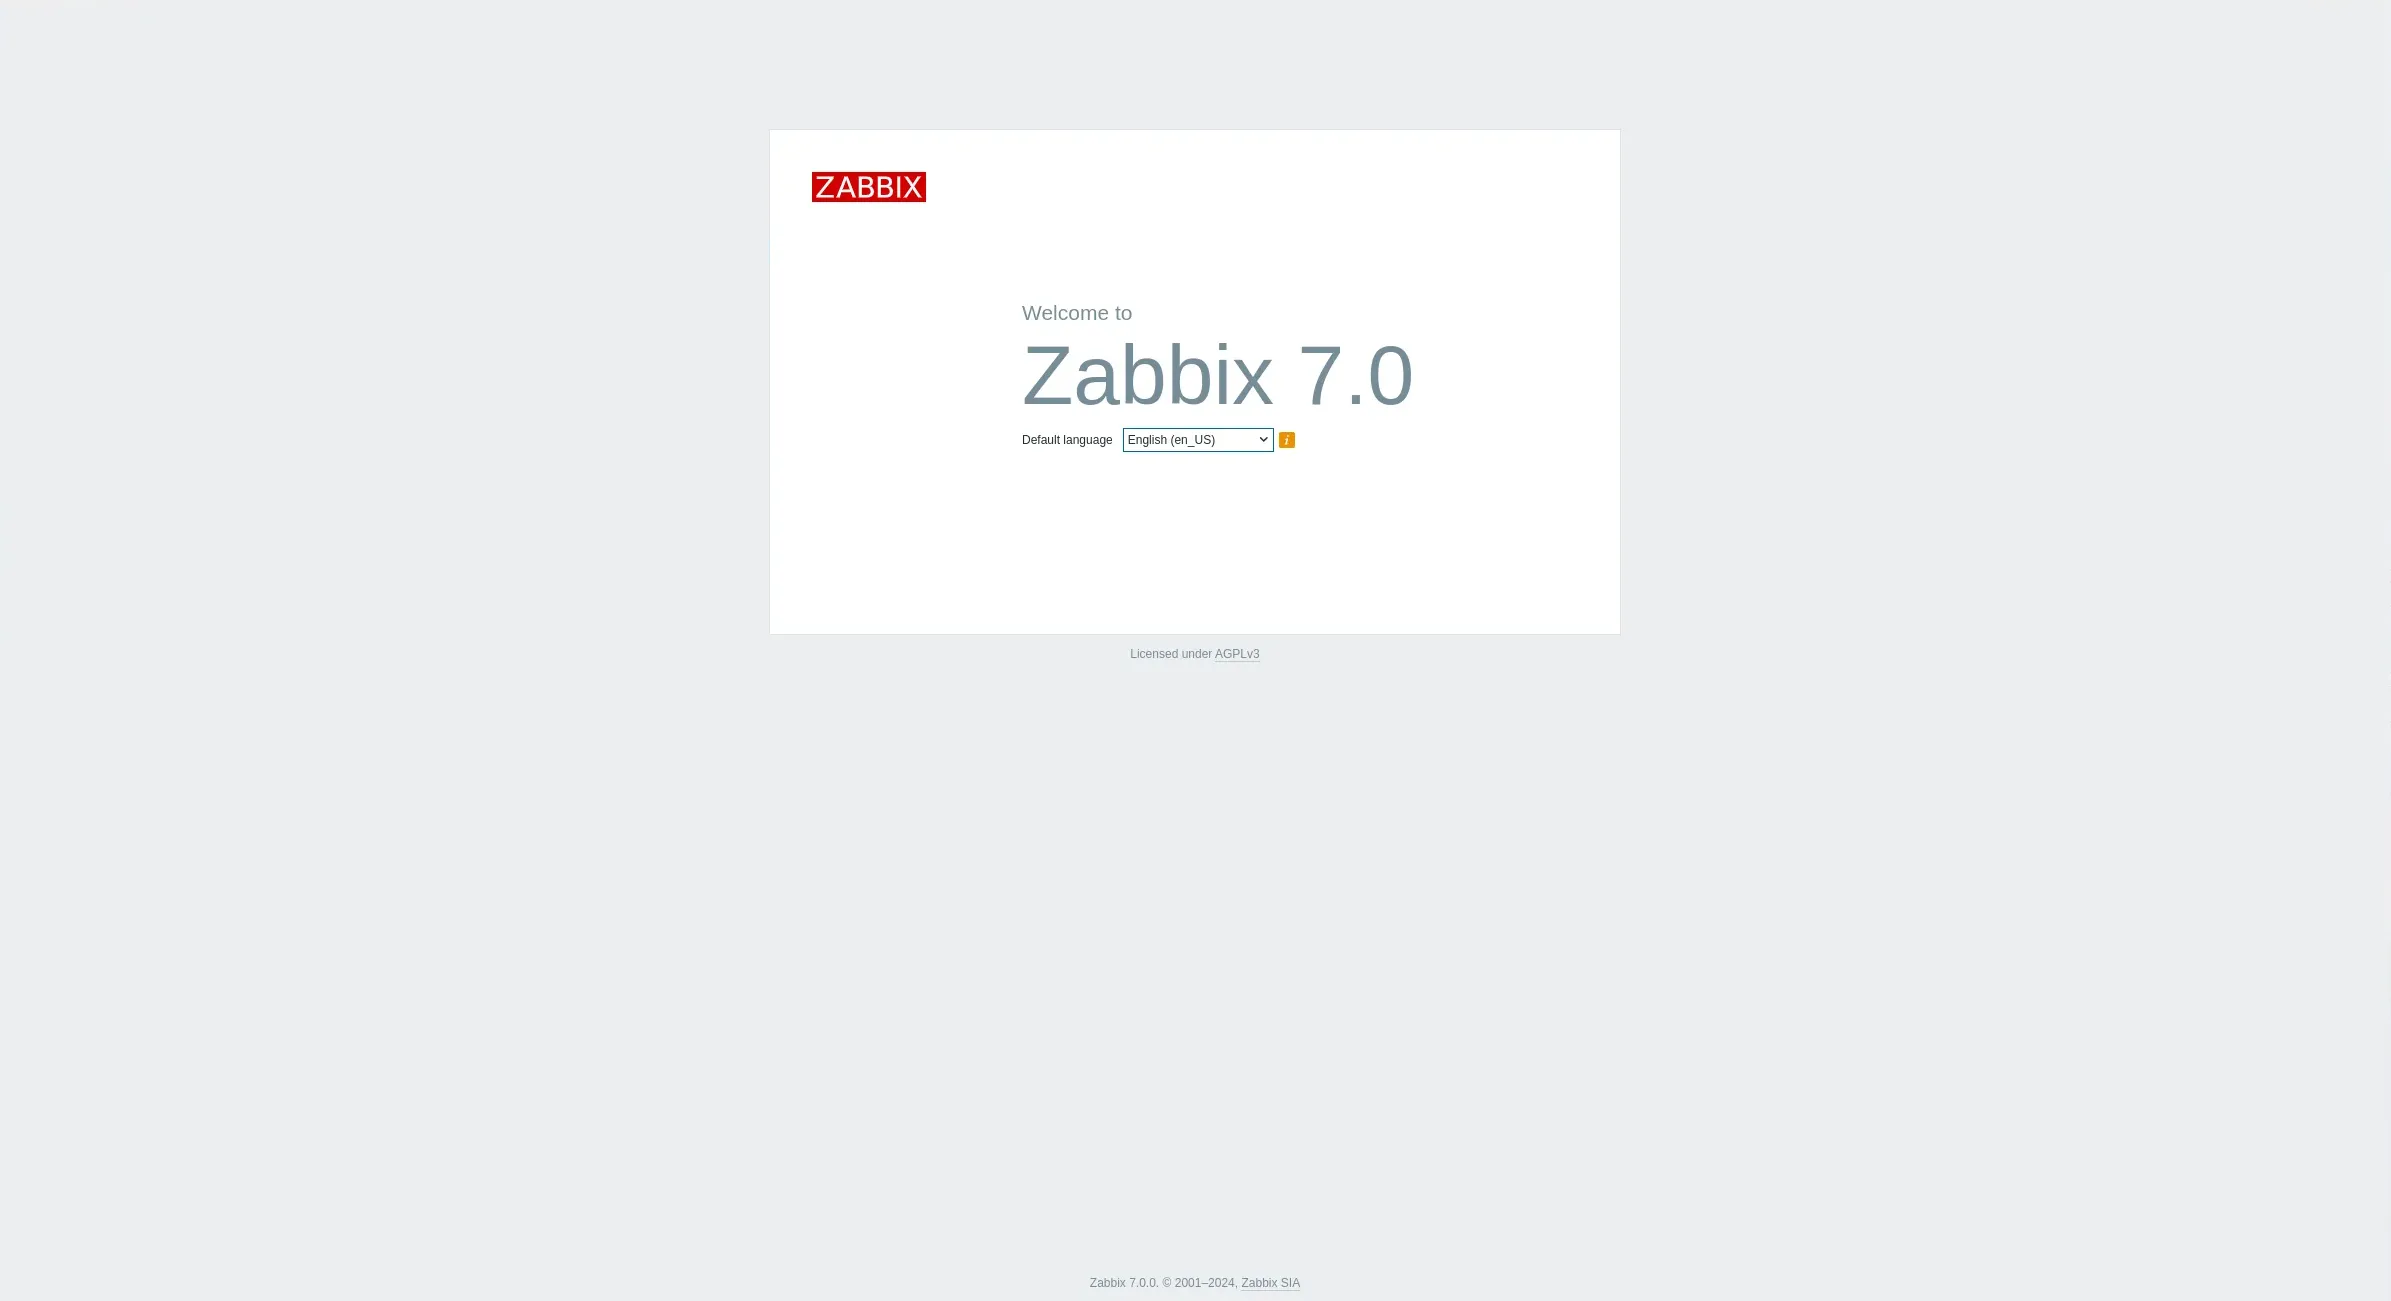
Photo by admingeek from Infotechys
To start, ensure that your server is up to date by running:
sudo dnf update -y
Step 1: Install PostgreSQL |
The first step is to install PostgreSQL, which will be the database server for Zabbix.
sudo dnf install -y postgresql-server postgresql-contrib
sudo postgresql-setup --initdb
sudo systemctl enable --now postgresql.service
After starting PostgreSQL, secure it by setting a password for the PostgreSQL user:
sudo -u postgres psql -c "ALTER USER postgres PASSWORD 'your_password';"
Step 2: Add Zabbix Repository |
To install Zabbix, we need to add its official repository to your system.
sudo rpm -Uvh https://repo.zabbix.com/zabbix/7.0/rhel/9/x86_64/zabbix-release-latest.el9.noarch.rpm
This repository contains the necessary packages to install Zabbix and its dependencies. Run this command to update your system’s repository:
sudo dnf clean all
Step 3: Install Zabbix Server |
With the repository added, we can now install the Zabbix server, frontend, and agent.
sudo dnf install -y zabbix-server-pgsql zabbix-web-pgsql zabbix-web zabbix-web-deps zabbix-sql-scripts zabbix-selinux-policy zabbix-apache-conf zabbix-agent
These packages install the Zabbix server (which will use PostgreSQL as its database), the web interface, and the Zabbix agent.
Step 4: Configure PostgreSQL for Zabbix |
Next, we need to set up PostgreSQL to work with Zabbix. This involves creating a database and user for Zabbix.
Create a Zabbix user with a password:
sudo -u postgres createuser --pwprompt zabbix
Create the Zabbix database:
sudo -u postgres createdb -O zabbix zabbix
Grant the user necessary privileges:
sudo -u postgres psql -c "GRANT ALL PRIVILEGES ON DATABASE zabbix TO zabbix;"
Exit the PostgreSQL shell:
\q
Step 5: Configure Zabbix Server |
Now that we’ve set up the PostgreSQL database, the next step is to configure the Zabbix server to connect to it.
sudo zcat /usr/share/zabbix-sql-scripts/postgresql/server.sql.gz | sudo -u zabbix psql zabbix
Open the Zabbix server configuration file for editing:
sudo vim /etc/zabbix/zabbix_server.conf
Make the following changes:
					DBHost=localhost
DBName=zabbix
DBUser=zabbix
DBPassword=your_actual_password
NodeAddress=localhost:10051
These lines configure the Zabbix server to connect to the PostgreSQL database using the user and password you created earlier.
Step 6: Install and Configure Zabbix Frontend |
The Zabbix frontend is a web-based interface that allows you to manage and monitor your environment.
sudo dnf install -y httpd php php-pgsql
sudo systemctl enable --now httpd
Zabbix requires specific PHP settings. Edit the PHP configuration file used by Zabbix:
sudo vim /etc/php-fpm.d/zabbix.conf
Set the timezone and other necessary values (e.g. America/New_York) :
php_value[date.timezone] = Your/Timezone
Restart PHP-FPM to apply the changes:
sudo systemctl restart php-fpm
Step 7: Start Zabbix Services |
Now that everything is set up, we can start the Zabbix services.
sudo systemctl enable --now zabbix-server zabbix-agent httpd php-fpm
					Created symlink /etc/systemd/system/multi-user.target.wants/zabbix-server.service → /usr/lib/systemd/system/zabbix-server.service.
Created symlink /etc/systemd/system/multi-user.target.wants/zabbix-agent.service → /usr/lib/systemd/system/zabbix-agent.service.
Created symlink /etc/systemd/system/multi-user.target.wants/httpd.service → /usr/lib/systemd/system/httpd.service.
Created symlink /etc/systemd/system/multi-user.target.wants/php-fpm.service → /usr/lib/systemd/system/php-fpm.service.
Restart Apache to ensure everything is running smoothly:
sudo systemctl restart httpd
We also want to account for the firewall and ensure the necessary ports are open to allow traffic:
					sudo firewall-cmd --permanent --add-port=10051/tcp
sudo firewall-cmd --permanent --add-service=http
sudo firewall-cmd --reload
If SELinux is enabled (it should be btw), enter the following command to allow the Zabbix frontend to connect to the server:
sudo setsebool -P httpd_can_network_connect on
Step 8: Access the Zabbix Frontend |
To access the Zabbix frontend, open a web browser and go to your server’s IP address followed by /zabbix. For example (http://your_server_ip/zabbix):
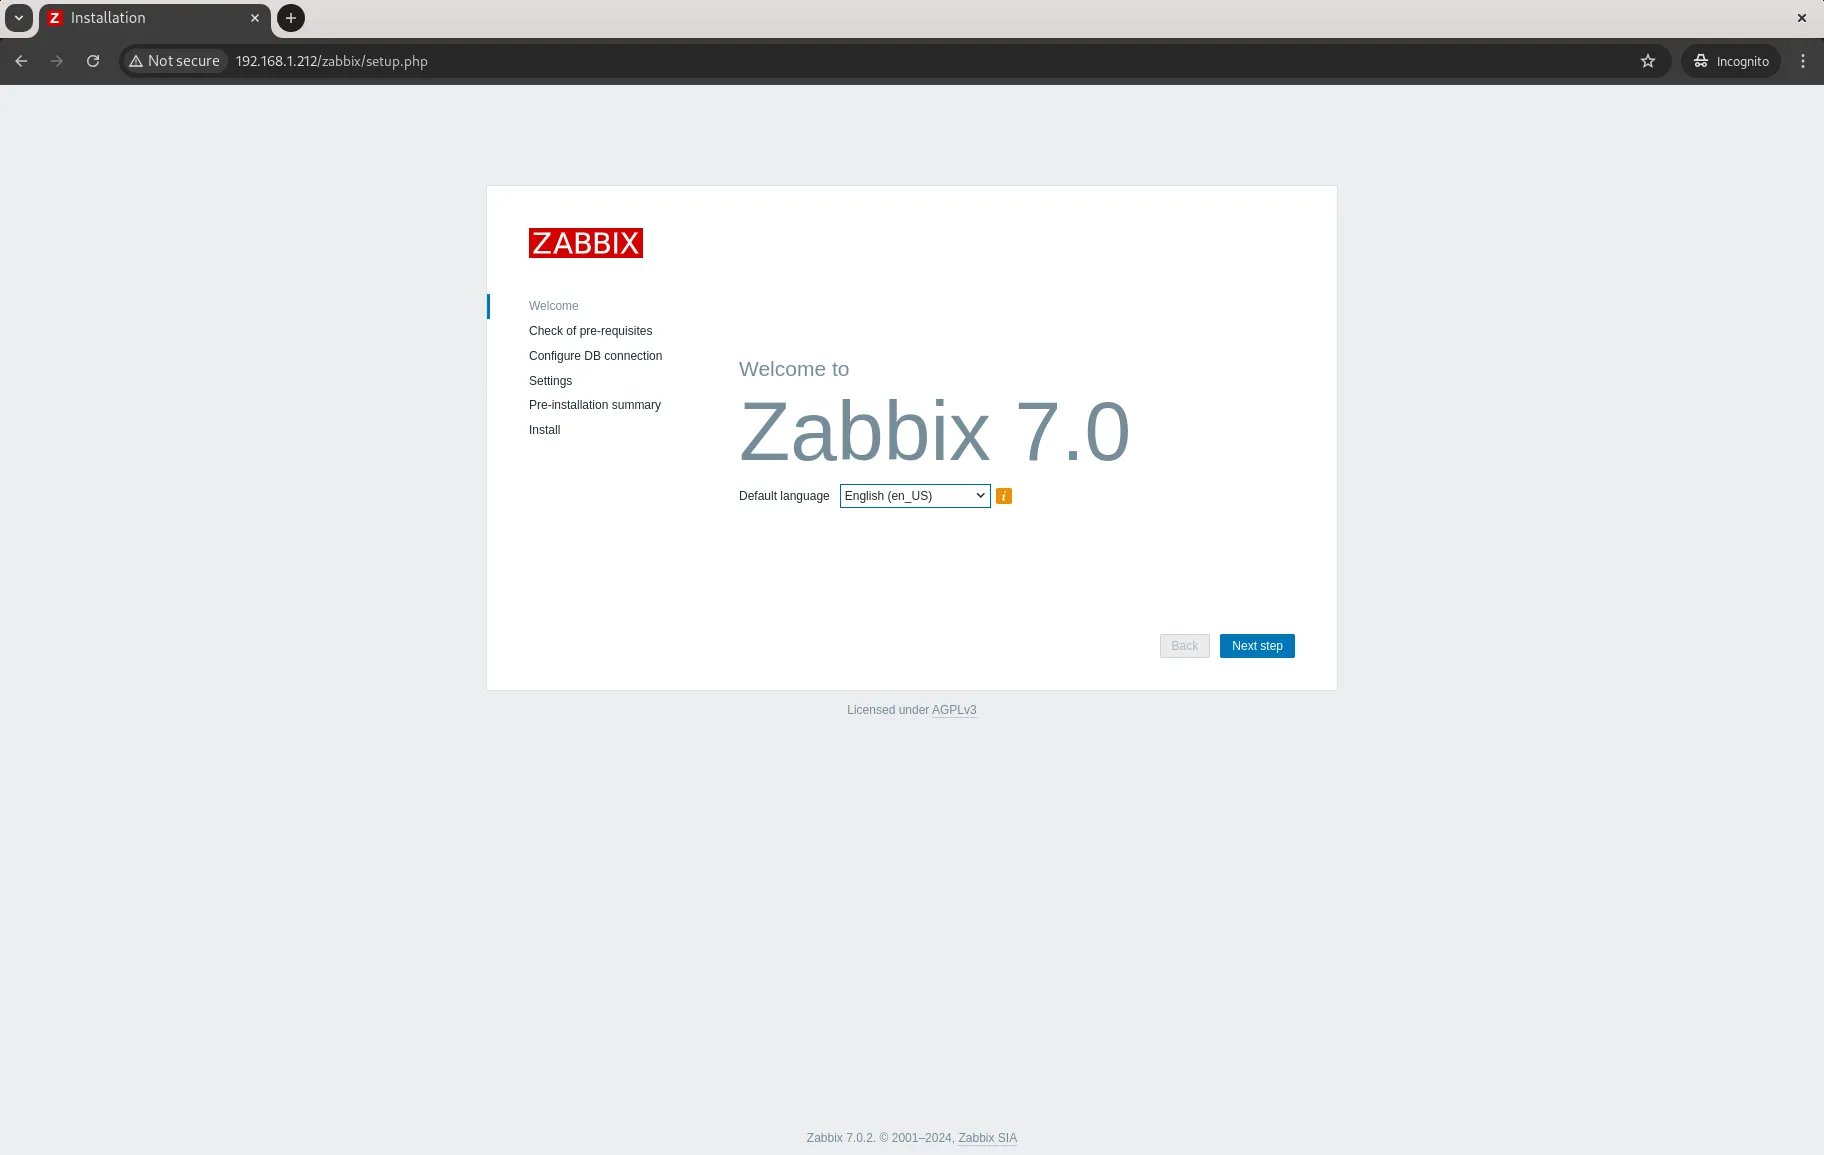
Photo by admingeek from Infotechys
The Zabbix setup wizard will appear. Follow the prompts and enter the PostgreSQL database details you configured earlier.
You’ve now successfully installed Zabbix with PostgreSQL on RHEL 9 or CentOS 9. This setup allows you to monitor your IT infrastructure efficiently while taking advantage of PostgreSQL’s robust and scalable database features.
By following this guide, you’ve laid the foundation for a powerful monitoring system. Zabbix, combined with PostgreSQL, ensures that your monitoring infrastructure can handle large amounts of data with optimal performance. Don’t forget to explore the additional features Zabbix offers, such as custom alerts, notifications, and integrations with other IT tools.
Did you find this article useful? Your feedback is invaluable to us! Please feel free to share your thoughts in the comments section below.
Related Posts
Learn how to install and configure IPA/IdM on RHEL 9 and CentOS 9. This comprehensive guide covers prerequisites, step-by-step installation, user management, and enabling 2FA

This blog post covers how to install and configure Zabbix version 7.0-2 on RHEL 9 in detail, including prerequisites, step-by-step instructions, and troubleshooting tips. Table