
Commands
This article covers how to install Vim on Ubuntu 24.04 with our comprehensive guide. Learn the steps to set up Vim using APT or from


Learn how to install Neovim on Ubuntu 24.04 with this comprehensive guide. Discover installation methods, essential configurations, and plugins to enhance your coding experience.
Neovim is a powerful and modern text editor that is an enhanced version of Vim. It offers numerous improvements, including better scripting support, improved plugins, and a more user-friendly configuration. If you’re using Ubuntu 24.04, installing Neovim can significantly enhance your coding and editing experience. In this comprehensive guide, we will walk you through the installation process, configuration tips, and how to get the most out of Neovim on your Ubuntu system.
Before diving into the installation process, let’s briefly discuss why you might choose Neovim over other text editors. Neovim is known for its efficiency and speed, making it an excellent choice for developers who work with large files or complex projects. Additionally, it supports Lua scripting, which allows for more powerful and flexible customization. Neovim also offers asynchronous plugins, meaning you can run multiple processes in parallel, enhancing the editor’s responsiveness and capabilities.
Before installing Neovim, ensure your system is up-to-date. Open a terminal and run the following commands:
sudo apt update && sudo apt upgrade
These commands will update your package list and upgrade all installed packages to their latest versions. This step is crucial to avoid compatibility issues during the installation process.
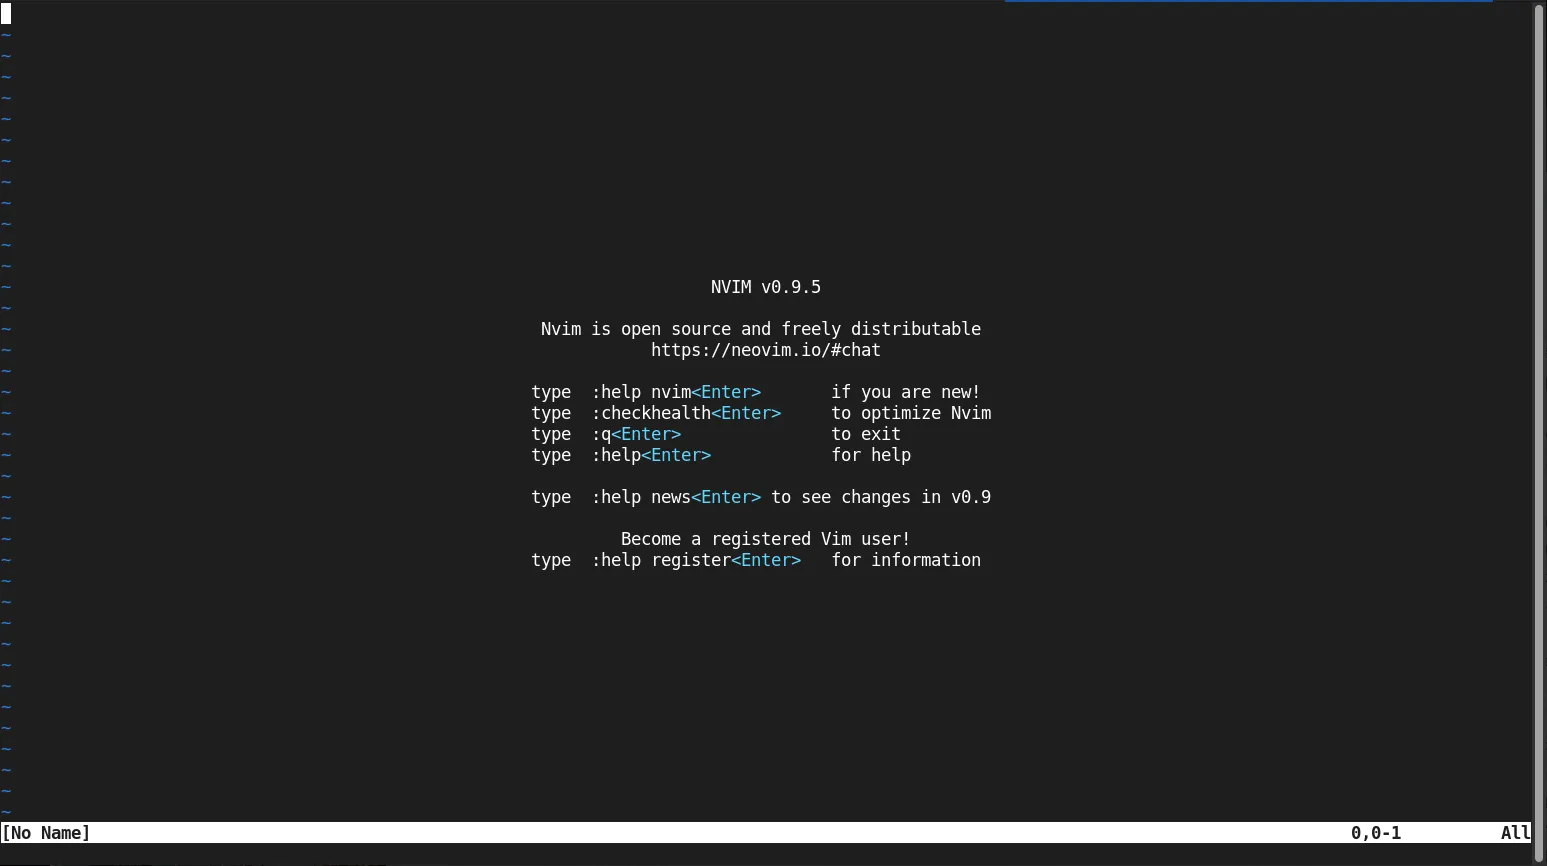
Photo by admingeek from Infotechys
There are several ways to install Neovim on Ubuntu 24.04. You can use the default package manager, download the AppImage, or build it from source. We’ll cover all three methods to give you flexibility based on your preferences.
🔁 Method 1: Installing via APT |
The simplest way to install Neovim is through the APT package manager. This method ensures that you get a stable and tested version of Neovim, along with automatic updates.
sudo add-apt-repository ppa:neovim-ppa/stable
					PPA publishes dbgsym, you may need to include 'main/debug' component
Repository: 'Types: deb
URIs: https://ppa.launchpadcontent.net/neovim-ppa/stable/ubuntu/
Suites: noble
Components: main
'
Description:
Neovim releases backported from Debian.

Homepage: https://neovim.io
Source/Issues: https://github.com/neovim/neovim
Documentation: https://neovim.io/doc
User Manual: https://neovim.io/doc/user
Neovim features: https://neovim.io/doc/user/nvim.html
Packaging: https://launchpad.net/neovim-ppa
More info: https://launchpad.net/~neovim-ppa/+archive/ubuntu/stable
Adding repository.
Press [ENTER] to continue or Ctrl-c to cancel.
Press the [Enter] Key to continue.
					...
Hit:7 http://security.ubuntu.com/ubuntu noble-security InRelease
Get:9 https://ppa.launchpadcontent.net/neovim-ppa/stable/ubuntu noble InRelease [24.3 kB]
Get:10 https://ppa.launchpadcontent.net/neovim-ppa/stable/ubuntu noble/main amd64 Packages [844 B]
Get:11 https://ppa.launchpadcontent.net/neovim-ppa/stable/ubuntu noble/main Translation-en [668 B]
Fetched 25.8 kB in 1s (18.7 kB/s)
Reading package lists... Done
sudo apt update
sudo apt install neovim -y
To confirm that Neovim is installed correctly, type:
nvim --version
					NVIM v0.9.5
Build type: Release
LuaJIT 2.1.1703358377

   system vimrc file: "$VIM/sysinit.vim"
  fall-back for $VIM: "/usr/share/nvim"

Run :checkhealth for more info
The build type is set to “Release,” and LuaJIT is included, providing additional scripting capabilities. To ensure everything is set up correctly, you can run the :checkhealth command within Neovim.
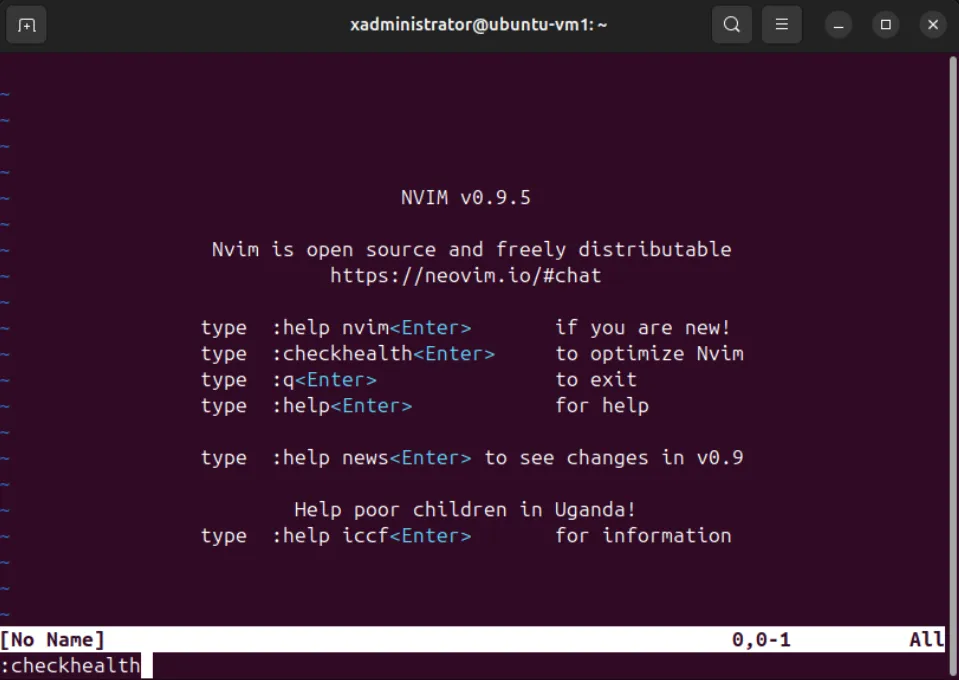
Photo by admingeek from Infotechys
This command will check the status of various components and plugins, helping you identify and troubleshoot any potential issues.
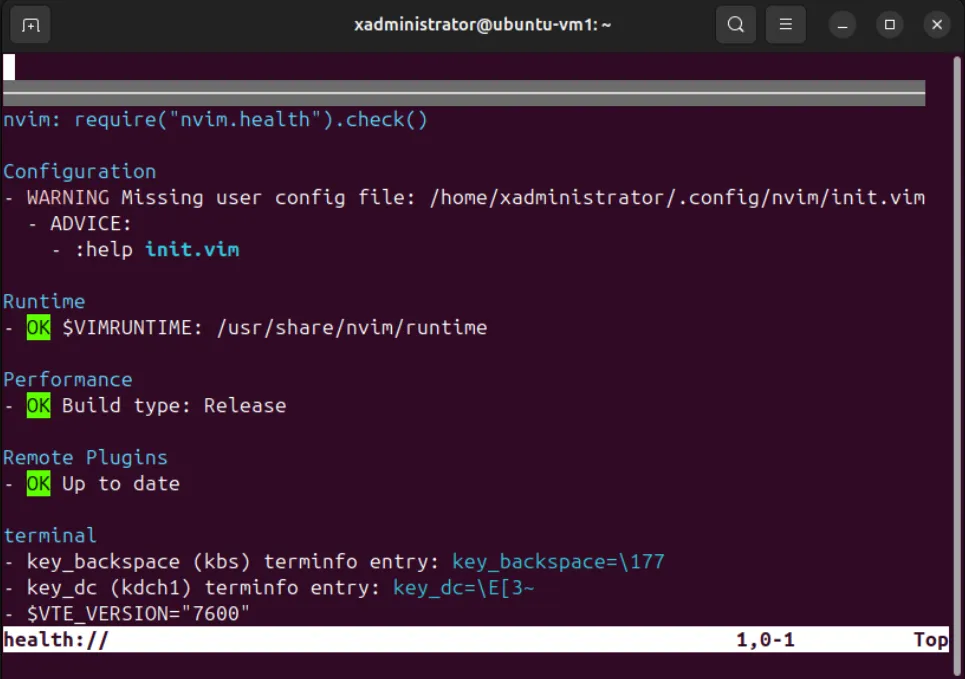
Photo by admingeek from Infotechys
🔁 Method 2: Using AppImage |
AppImage is a universal software package format that allows you to run applications on any Linux distribution without installation. This method is particularly useful if you want to try the latest Neovim features without affecting your system.
Download the AppImage: |
Visit the Neovim GitHub releases page and download the latest AppImage.
Make the AppImage Executable: |
Navigate to the directory where the AppImage was downloaded and run:
chmod u+x nvim.appimage
Run Neovim: |
Execute the AppImage:
./nvim.appimage
Optional: Create a Shortcut: |
To create a shortcut for easy access, move the AppImage to a directory in your PATH, such as /usr/local/bin, and rename it to nvim.
sudo mv nvim.appimage /usr/local/bin/
cd /usr/local/bin/
sudo mv nvim.appimage nvim
🔁 Method 3: Building from Source |
For users who want the latest features and are comfortable with compiling software, building Neovim from source is an excellent option.
sudo apt install ninja-build gettext libtool libtool-bin autoconf automake cmake g++ pkg-config unzip git curl doxygen -y
git clone https://github.com/neovim/neovim.git && cd neovim
					Cloning into 'neovim'...
remote: Enumerating objects: 254945, done.
remote: Counting objects: 100% (454/454), done.
remote: Compressing objects: 100% (259/259), done.
remote: Total 254945 (delta 272), reused 315 (delta 194), pack-reused 254491
Receiving objects: 100% (254945/254945), 273.66 MiB | 21.18 MiB/s, done.
Resolving deltas: 100% (204073/204073), done.
make CMAKE_BUILD_TYPE=Release
sudo make install
Check the version to confirm the installation:
nvim --version
Snap packages are self-contained, meaning they include all necessary dependencies and libraries. This makes Snap an excellent option for users who want a straightforward installation process with the latest features.
🔄 Step 1: Install Snap (if not already installed) |
Ubuntu 24.04 comes with Snap pre-installed. However, if you need to install or update Snap, use the following commands:
sudo apt update && sudo apt install snapd -y
💡NOTE: After installing Snap, it’s a good idea to restart your system to ensure all changes take effect. |
🔄 Step 2: Install Neovim using Snap |
With Snap installed, you can easily install Neovim by running:
sudo apt update && sudo apt install snapd -y
The --classic flag is used because Neovim requires classic confinement to access system resources typically outside of a Snap’s sandbox.
🔄 Step 3: Verify the Installation |
To ensure Neovim is installed correctly, check the version:
nvim --version
Using Snap to Manage Neovim |
One of the key benefits of using Snap is the ease of updating and managing packages. To update Neovim, you can run:
sudo snap refresh nvim
This command will update Neovim to the latest version available on the Snap store.
Uninstalling Neovim |
If you ever need to uninstall Neovim, simply run:
sudo snap remove nvim
This will remove Neovim and all its associated files from your system. The Snap method provides a simple and reliable way to install Neovim, ensuring you always have access to the latest features and updates. This method is particularly beneficial for users who prefer not to manually manage dependencies or want a quick installation process.
Once Neovim is installed, it’s time to configure it to suit your workflow. Neovim’s configuration file is located in the ~/.config/nvim/ directory and is typically named init.vim. Here are some essential configurations to get you started:
Basic Configuration |
Start by creating the configuration directory and file:
mkdir -p ~/.config/nvim
touch ~/.config/nvim/init.vim
Open the init.vim file in Neovim and add the following lines:
					set number
set relativenumber
syntax on
set tabstop=4
set shiftwidth=4
set expandtab
set autoindent
set smartindent
These settings enable line numbers, set the tab width to four spaces, and enable syntax highlighting and auto-indentation.
Installing Plugins |
Neovim supports a variety of plugins that can enhance your editing experience. To manage plugins, you’ll need a plugin manager. One popular choice is vim-plug.
					curl -fLo ~/.local/share/nvim/site/autoload/plug.vim --create-dirs \
    https://raw.githubusercontent.com/junegunn/vim-plug/master/plug.vim
init.vim:Open init.vim and add the following lines at the beginning:
					call plug#begin('~/.local/share/nvim/plugged')

" List of plugins
Plug 'preservim/nerdtree'
Plug 'junegunn/fzf', { 'do': { -> fzf#install() } }
Plug 'nvim-treesitter/nvim-treesitter', {'do': ':TSUpdate'}
Plug 'neovim/nvim-lspconfig'
Plug 'hrsh7th/nvim-compe'

call plug#end()
After saving the changes, open Neovim and run:
:PlugInstall
This command will install the plugins you’ve listed in init.vim.
Here’s an example of a more extensive configuration tailored for development:
					set number
set relativenumber
syntax on
set tabstop=4
set shiftwidth=4
set expandtab
set autoindent
set smartindent

" Enable mouse support
set mouse=a

" Enable line wrapping
set wrap

" Set clipboard to use system clipboard
set clipboard=unnamedplus

" Load plugins
call plug#begin('~/.local/share/nvim/plugged')

" File explorer
Plug 'preservim/nerdtree'

" Fuzzy finder
Plug 'junegunn/fzf', { 'do': { -> fzf#install() } }

" Better syntax highlighting
Plug 'nvim-treesitter/nvim-treesitter', {'do': ':TSUpdate'}

" LSP configurations
Plug 'neovim/nvim-lspconfig'

" Autocompletion
Plug 'hrsh7th/nvim-compe'

call plug#end()

" Setup LSP
lua << EOF
require'lspconfig'.pyright.setup{}
EOF

" Setup autocompletion
let g:compe = {}
let g:compe.enabled = v:true
let g:compe.autocomplete = v:true
let g:compe.debug = v:false
let g:compe.min_length = 1
let g:compe.preselect = 'enable'
let g:compe.throttle_time = 80
let g:compe.source_timeout = 200
let g:compe.incomplete_delay = 400
let g:compe.allow_prefix_unmatch = v:false
let g:compe.source = {}
let g:compe.source.path = v:true
let g:compe.source.buffer = v:true
let g:compe.source.calc = v:true
let g:compe.source.vsnip = v:true
let g:compe.source.nvim_lsp = v:true
let g:compe.source.nvim_lua = v:true
let g:compe.source.tags = v:true
This configuration includes essential settings for coding, such as line numbers, indentation, mouse support, and clipboard integration. It also includes plugins for file exploration, fuzzy finding, syntax highlighting, LSP support, and autocompletion.
🛠️ Using Neovim: A Brief Overview |
Once you’ve set up Neovim, it’s helpful to know some basic commands to get started:
|
|
|
|
|
Installing Neovim on Ubuntu 24.04 is a straightforward process that can significantly improve your coding experience. Whether you choose to install it via APT, AppImage, or build it from source, Neovim offers a powerful and flexible environment for text editing. With its extensive plugin ecosystem and customization options, you can tailor Neovim to suit your specific needs and workflows.
In this guide, we’ve covered the installation process, basic configuration, and essential plugins to get you started. Remember, the key to getting the most out of Neovim is continuous learning and experimentation. Don’t hesitate to explore new plugins, configurations, and workflows to find what works best for you.
Did you find this article useful? Your feedback is invaluable to us! Please feel free to share your thoughts in the comments section below.
👉 Related Posts
This article covers how to install Vim on Ubuntu 24.04 with our comprehensive guide. Learn the steps to set up Vim using APT or from

When it comes to popular text editors for Linux, text editors are like wallets. Everybody’s got one and more importantly, everyone’s choice of a text

In this article, we will review installing and using Vi or Vim, a versatile and powerful text editor commonly found in Unix-based operating systems like